

CAU-Cloud - Desktop sync client usage
Here you will find a brief tutorial on installing and using the sync client. For installation instructions, please refer to the installation manuals for Windows, MacOS und Linux. The easiest way to access the sync client is via the task bar symbol on Windows or the dock symbol on MacOS, when the client is running. Otherwise please start the sync client by starting the "Nextcloud" application.
Before you can use the desktop sync client it is necessary for you to log in to the web interface at least once in order to accept the terms of conditions. Please have a look at the manual for the web interface for more information please have a look at the manual on using the web interface.
Setting up the CAU-Cloud account in the desktop sync client
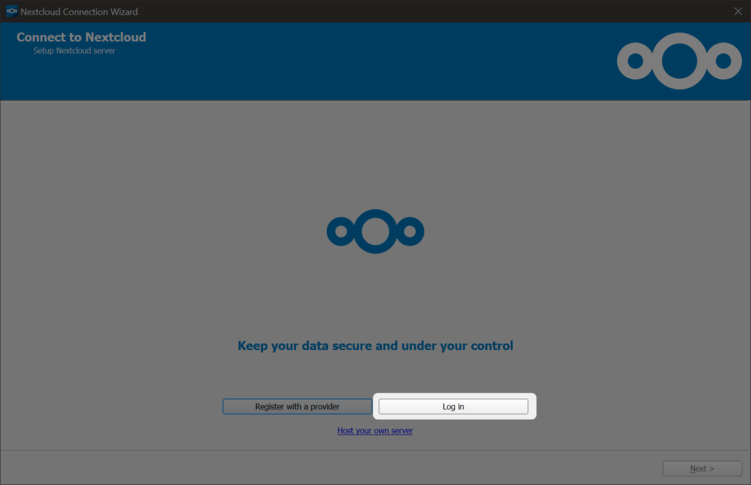
After a successful installation of the sync client at the first start you will be asked to register with a cloud provider or log in to an existing cloud account. Please choose "Log In" in the dialog.

In the following step you will have to fill in the address of the CAU-Cloud server, please fill in https://cloud.rz.uni-kiel.de.
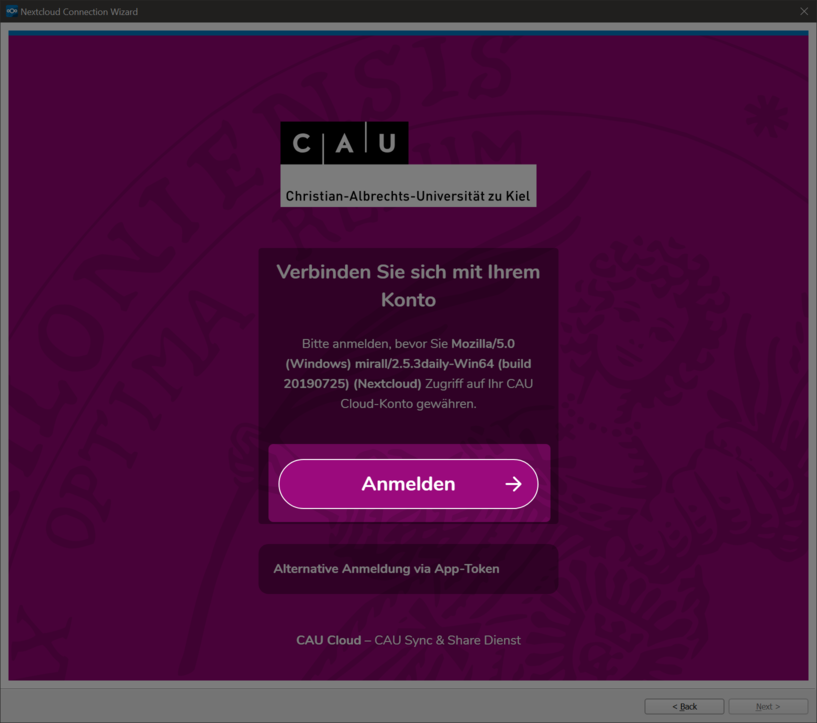
You will be redirected the CAU-Cloud website and will be asked to log in. You can either log in using your datacenter account credentials, as we will do in this tutorial, or you can choose to use an application token that you might have generated earlier.
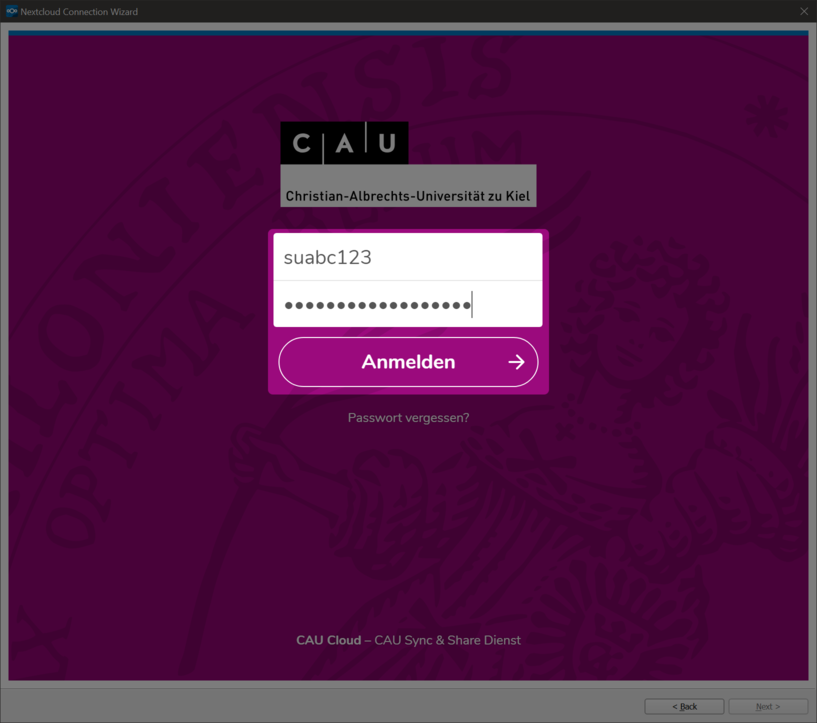
Please log in using your computing center account (su... or sz...) and the password.
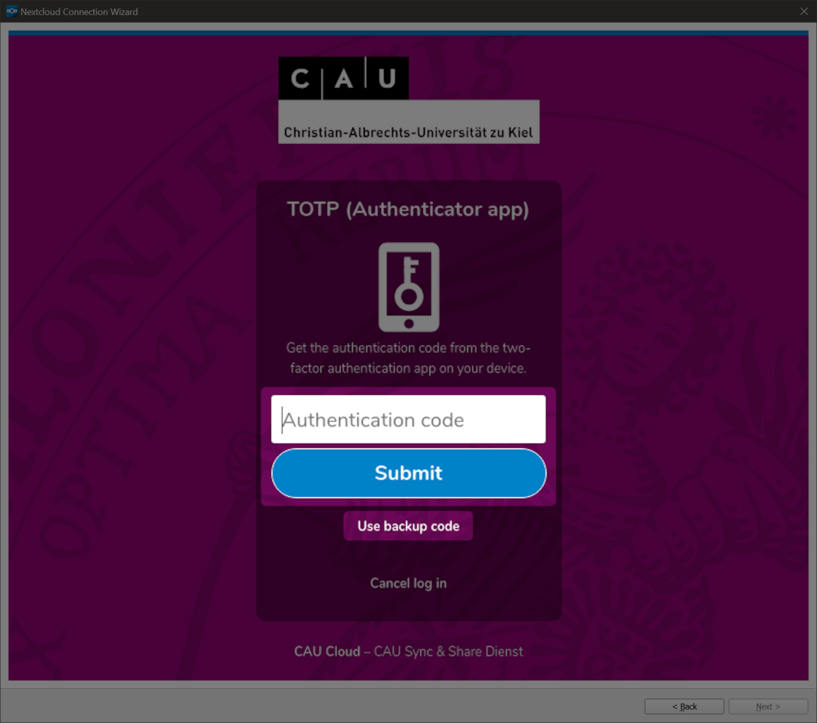
If you chose to setup two-factor-authentification you will be asked to provide your second factor. This step is optional, but provides a huge amount of additional security.
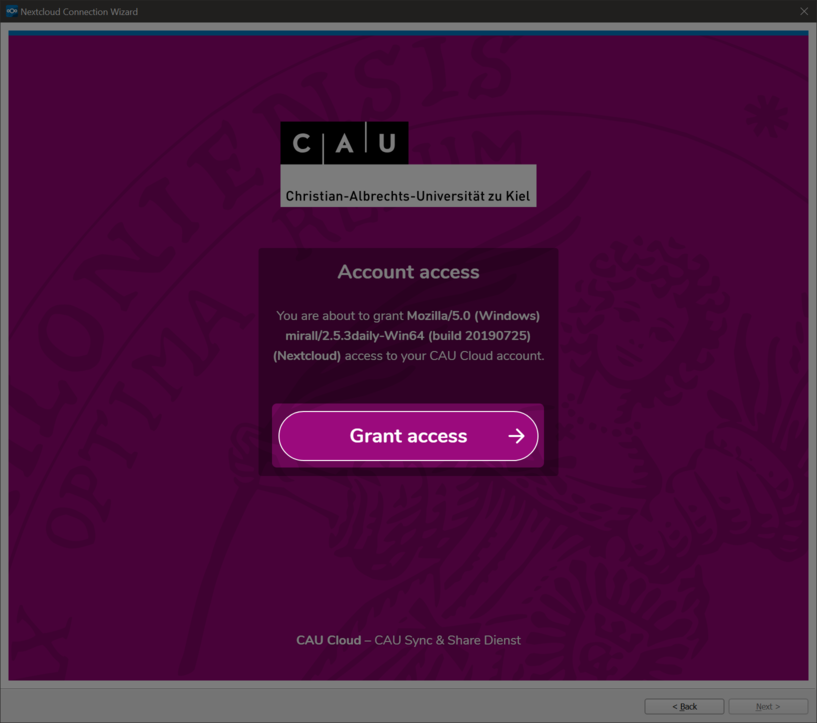
After a successful login you will be asked to grant access to the desktop sync client. In this step a new app token is generated and transferred to your sync client. You can decline the access for each token in the web interface later, this might be useful in case a device gets lost.

In the next and also last step of the setup you can choose, which contents of the CAU-Cloud you wan so sync to your computer. You can choose to add or remove folders later as you wish (also see next picture). If you are using a computer with limited disk space or it might be beneficial to select only folders you need on the particular machine.

You can select and deselect folders to synchronize to your computer within the file tree of the Nextcloud application. In the example above the folder "Ol Data" is excluded from synchronization.
Using the desktop sync clients

In the main window of the desktop sync client you will find the file tree showing the folders that are available to sync from the CAU-Cloud. On top of that is a status bar showing the sync status and above that you can choose to switch between different cloud accounts. Next to the account you will find the activity window, showing details on the sync. In case of a problem it might be helpful to have a look there.
To the right you will find general settings, here you can set up things like the auto start for the sync client. Below that you can find the account options, where you can add or remove cloud accounts.
Using within the file explorer
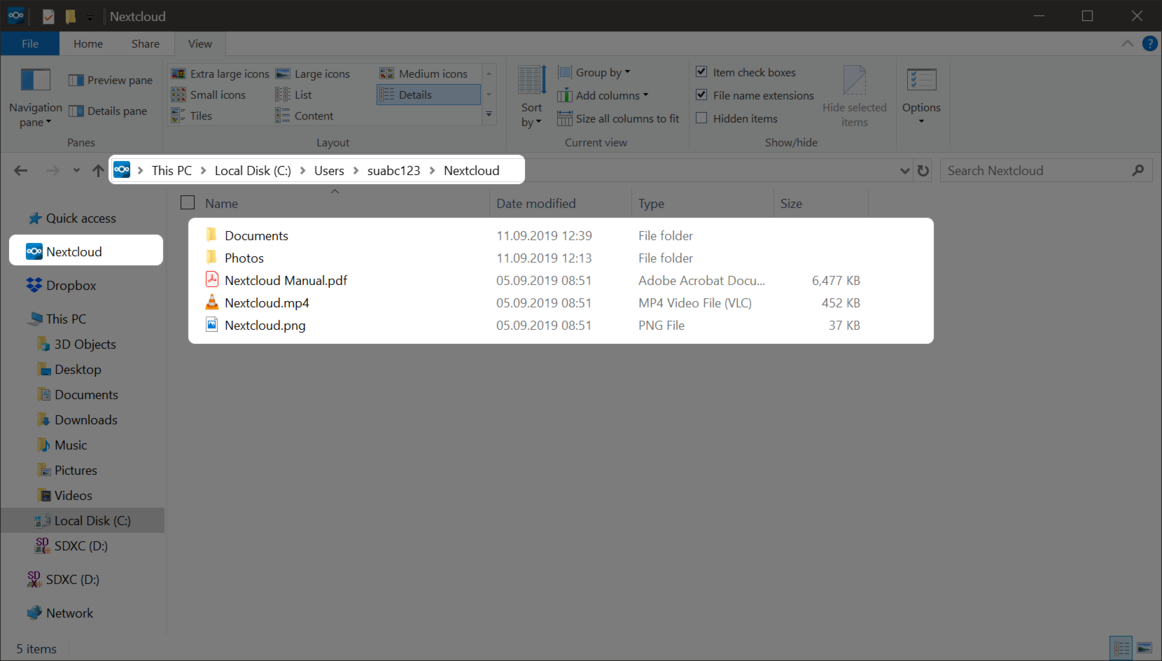
In contrast to a network share the data of your CAU-Cloud files are stored locally on your computer. Therefore you can use and access the fileswith any applications you like, all saved changes are synced back to the CAU-Cloud in the background. If you are working offline, the sync will start as soon as you go online again.
Dependent on the operating system the CAU-Cloud is integrated within the file explorer. The following example shows the integration into the Windows Explorer, but there is a similar integration into the Finder on MacOS as well as different file explorers on different Linux desktop environments.
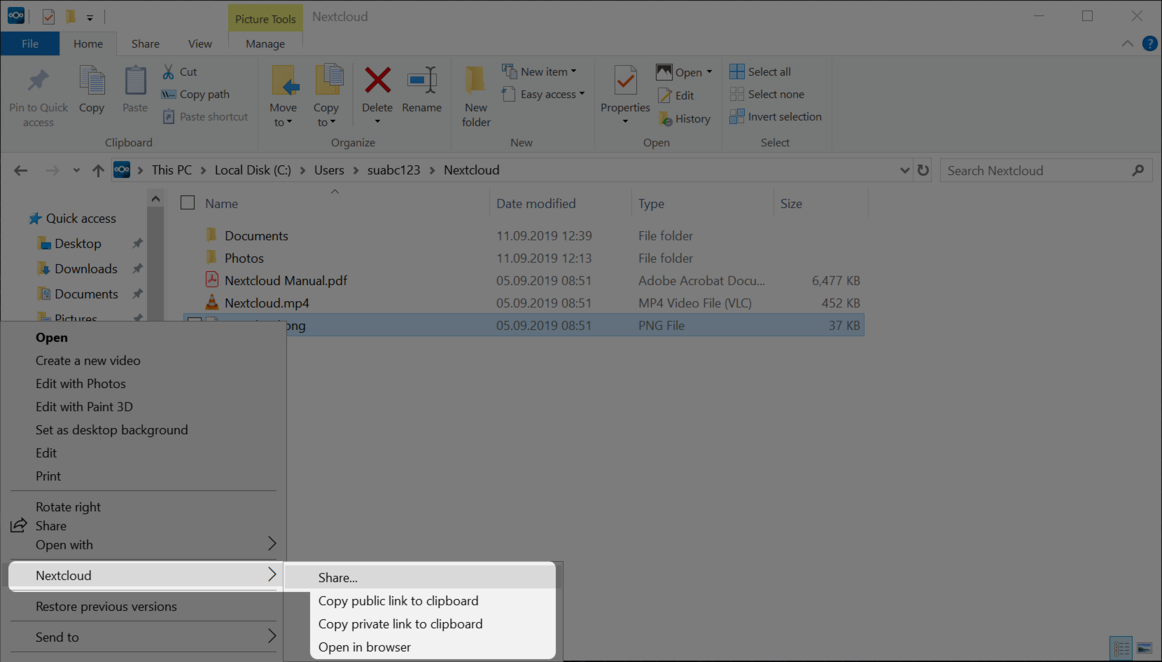
When you open the context menu on a file or folder within your CAU-Cloud, you will find a new context menu "Nextcloud". This menu allows you basic sharing options. For all sharing options, please refer to the web interface.
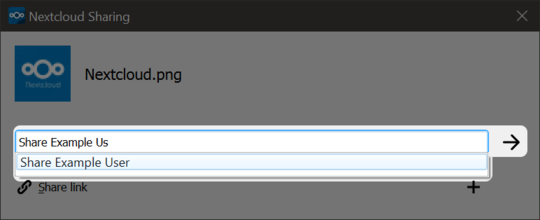 In the context menu you willl find an option "Sharing", which opens the sharing dialog. Here you can tape the Name of the colleague you want to share data with. It can take a couple of seconds until a list of users matching your input is generated. When you select an entry, the files will be shared with the person you selected.
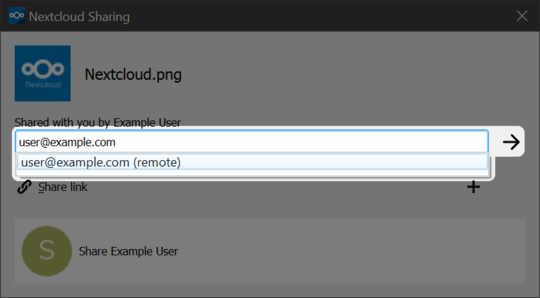
If you are going to share with someone without a CAU-Cloud account you can also input an e-mail address. When you select the suggestion, the person will get an e-mail containing a link to access the content.
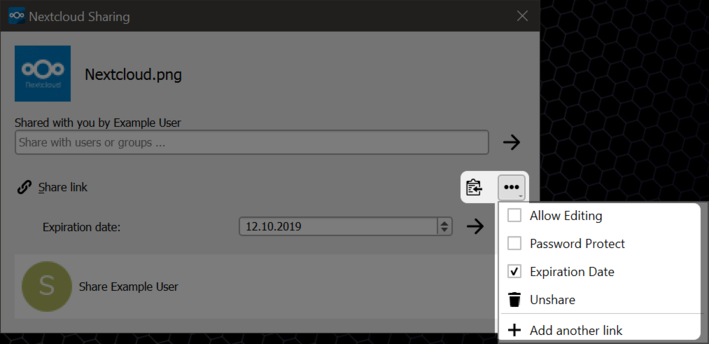
You can also choose to generate a public link to access the file. Please select the option "Share link". You can send this link to the person using a way of communication of your choosing. You can also choose to add an access password or an expiration date as well as grant or revoke write permissions via the context menu.