Manage circles
Circles are a collection of contacts for use in CAU Cloud. Circles can contain CAU Cloud members, as well as business cards from contacts or others by mail address. A circle can be visible to others at the owner's request, likewise CAU Cloud members can join a circle or request to be included in the circle at the owner's request. These circles can be used within CAU Cloud to prepare recurring user groups to use for file sharing, but also chat rooms.
Create circle
To create a circle, open the Contacts app and select the +-button next to the Circles tab in the left sidebar. In the dialog box that opens, you can enter a name for the circle in the text field and click the Create Circle button to create the circle. This newly created circle is not yet visible to anyone and no one can join the circle. You can change this in the settings of the circle as described below.
In the example, a circle with the name "Secret Workgroup" is created.
Manage circle settings
Make circle visible
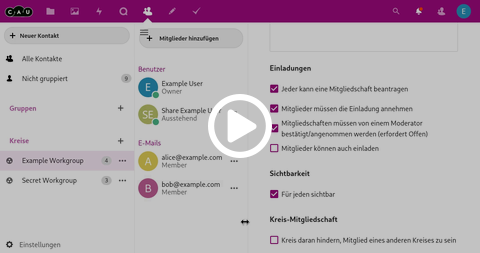
To make a circle visible to other CAU Cloud members, you as the owner need to select the circle in the left sidebar. In the middle column you will find the members of the circle and in the right column the properties of the circle. In the properties, under the subitem Visibility, select Visible to everyone to make the circle visible to all users. However, the members of a circle still remain visible only to other members.
In this example, the Example Workgroup circle is made visible to all users.
Customize description text
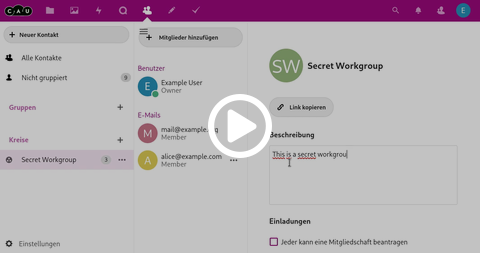
To define more precisely what purpose a circle (especially a visible one) has, you can write a description text. To do this, select the circle you want to edit from the left sidebar. Now you can adjust the description in the right column in the properties of the circle in the text field Description. When you exit the text field, the change is saved immediately. The description of a visible circle is also visible to everyone.
In this example you can see how the description of the "Secret Workgroup" circle is set.
Let users join without approval
If you want to map a public interest group in the form of a circle, it can be useful if CAU Cloud members can join a visible circle without approval. If content has been shared with this circle, the new members will automatically get access to the content!
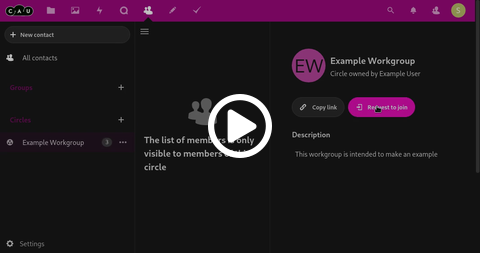
To allow members to join a circle, select the circle you want to edit from the left sidebar. Now, in the right column, in the properties of the circle, under the item Invitations, you can select the sub-item Anyone can request membership. In order not to have to approve every request, do not select the subitem Members must be approved/accepted by a moderator.
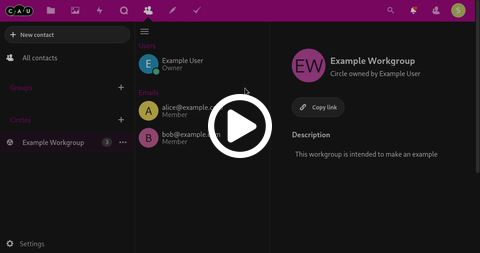
In this example, you can see how the "Example Workgroup" circle first got permission for members to apply for membership. In the second part, in the dark browser, you see another user "Share Example User" submitting an access request, which is automatically accepted and included in the members of the circle.
Have users ask for approval to join
If you want to have a little more control over the members of your circle, but still allow other CAU-Cloud members to ask for access to the circle, select the circle you want to edit from the left sidebar. Now, in the right column, in the properties of the circle, under the item Invitations, you can select the sub-item Anyone can request membership and additionally select the sub-item Members must be confirmed/accepted by a moderator. Then all moderators of the circle will receive a notification with the request for admission of a user and must confirm or reject the admission.
In this example you can see how first the necessary settings are set and then in the dark browser another user "Share Example User" who makes an access request. However, this is not accepted immediately and remains in the status "Pending" and is then accepted by the moderator.
Ask users for permission when adding
It may also be that you, as a circle owner, do not want to simply add CAU Cloud members to a circle, but that you in turn need to invite the members of a circle and they need to approve or decline this invitation.
Select the circle you want to edit from the left sidebar. Now you can select the subitem Members must accept the invitation in the right column in the properties of the circle under the item Invitations. If you now add CAU Cloud members, they will not be added as members but will have the status Pending until the invitee has decided for herself if she wants to join or not. The invitation will be delivered via notification within CAU-Cloud.
In this example you will first see how to make the necessary settings for requesting to join a circle and then invite the "Share Example User". In the second part we can see the view of the invited user in the dark browser, who can decide in the notifications whether to join the circle or not.
Manage circle members
Add CAU Cloud participants
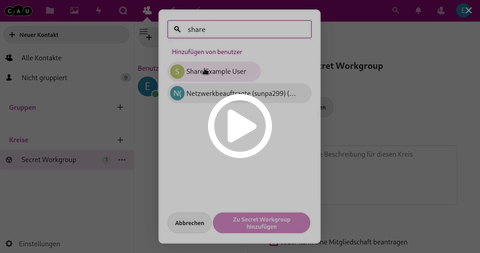
To add CAU Cloud members to a circle, select the circle in the left sidebar, in the middle column you will see the member list, press the button Add members above it. In the dialog box you can search for the user as you do for all shares within CAU Cloud, you will be shown matching entries below the text box. By clicking on the person in the suggestions, the person will be added to the circle. Confirm the joining with Add to circle.
The example shows how the user "Share Example User" is added to the circle "Secret Workgroup".
Add external participants by mail
To add external ones to a circle by e-mail, select the circle in the left sidebar, in the middle column you will see the list of members, press the Add members button above it. Enter the e-mail address of the person you want to add to the circle into the text field. If the e-mail address is in one of your address books, the full name will be displayed as well. Clicking on the e-mail address will add the address to the circle. Confirm the joining by clicking Add to circle.
In this example you can see how two email addresses are added to the circle, first "mail@example.org" which is not in the address books, next "alice@example.com" which is shown with the full name "Alice Johnson".
Add circles to circles
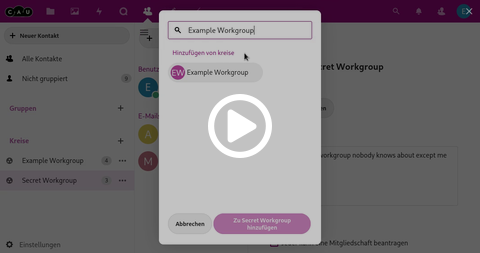
Since Nextcloud 22 it is also possible that circles can be nested, i.e. circles can be added to circles. Select the circle in the left sidebar, in the middle column you will see the list of members, press the button Add members above it. Enter the name of the circle in the text field and wait for the suggestions. Select the desired circle in the list of suggestions and confirm joining by pressing the button Add to circle.
The example shows how to add the Example Workgroup circle to the Secret Workgroup circle.
Manage member permissions
Members of a circle have different membership levels in the CAU Cloud.
- Non-member
CAU Cloud participants who are not members of a circle can only see the description of visible circles. The member list is not visible. - Member
Every circle member is able to see the content shared with the circle, as well as the members of the circle - Moderator
Moderators can send invitations (if necessary) or edit admission requests. - Administrator
Administrators can manage all circle settings and name moderators. - Owner
The sole owner of a circle can appoint administrators in addition to all the rights of the administrator. There is only one owner per circle.
To edit the level of a member, select the member in the middle column and open the context menu next to the user with the ...-button. Here you can now assign further permissions according to your own permissions.
The example time how the user "Share Example User" is appointed moderator of the circle "Secret Workgroup".
Remove members
To remove members from a circle you need at least moderator rights. Select the member in the middle column and open the context menu next to the user with the ...-button. Select the subitem Remove member to remove the user from the circle. All shares to the circle are then no longer visible for the user.
In the example you can see how the "Share Example User" user is removed from the "Secret Workgroup" circle.
Exit from a circle
If you want to leave a circle as a user, select your name in the middle column and click on the icon Leave next to your name. Without further confirmation you will leave the circle. All releases made to the circle are then no longer available to you!
In the example you can see how the user "Share Example User" leaves the circle "Example Workgroup".
Delete circle
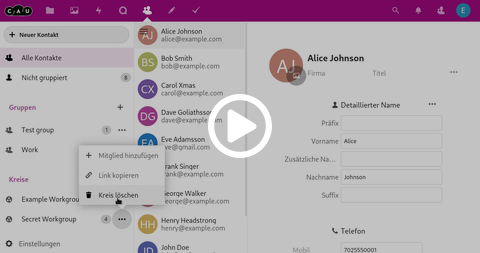
To delete a circle you must be at least an administrator. Select the circle to be deleted in the left sidebar and open the context menu next to the circle with the ...-button. Select the subitem Delete circle and then confirm the deletion by clicking Yes in the dialog box. Attention: Deleting a circle cannot be undone and all releases made to the circle will be cancelled!
In the example you can see how the circle "Secret Workgroup" is deleted.


