Synchronize calendars using Outlook 201X
Out of the box Microsoft Outlook 201X unfortunately is not able to synchronize to the open standard protocols for calendars (CalDAV) and address books (CardDAV). Therefore, it is necessary to install an additional software to synchronize the CAU-Cloud address books and calendars to the Outlook address books and calendars. We recommend to use the Outlook CalDav Synchronizer. This tool can be installed by hand, as described in this article. Or if your computer is managed by the Client-Management-System Matrix42, you can use the software depot to install it from there, which is much easier. A description on how to use the software depot can be found here. Then you can directly jump to Setup in Outlook.
Download the CalDav Synchronizer
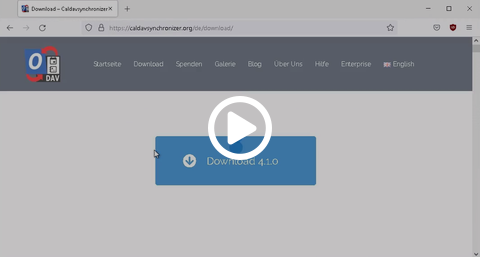
You can download the Outlook CalDav Synchronizer from the Vendors website. The application is saved as a ZIP file on your computer.
Install .NET Framework 4.8 or higher
The Outlook CalDav Synchronizer requires the Microsoft .NET Framework in a version of 4.8 or higher. Therefore we need to install it first. Open the Download folder and extract the zip archive by a right click on the zip file and then choose extract all from the context menu. Open the extracted folder and start the installation by double clicking the setup.exe. You will have to have administrator rights in order to be able to perform the installation of .NET Framework. Follow the installer or ask your administrator to do it for you. After the installation you will need to restart your computer.
Install the Outlook CalDav Synchronizer
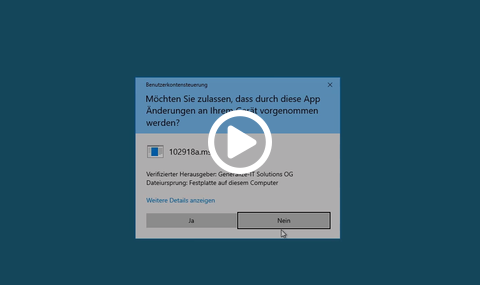
After installing the Microsoft .NET Framework, you can now install the Outlook CalDav Synchronizer. Open your Download folder and the folder you extracted before. Start the installation by clicking on the CalDavSynchronizer.Setup.msi. Follow the instructions of the installer, during the installation you can choose to either install it only four your user, or for all users on your machine. For the later you will need to have administrator privileges. Follow the installation to the end.
Setup Outlook CalDav Synchronizer
For each calendar you want to synchronize, you will need an Outlook Calendar-Folder to synchronize to. In the Calendar view choose the Tab Folders and then New Folder. In the Dialog box enter a Name of the Calendar and choose Calendar as an element type. Choose the new folder to be a subfolder of the existing Folder Calendars.
Open the tab CalDV Synchronizer and select Synchronization Profiles to create a new profile. A window will open, please click the green +-button to create a new configuration. As a profile type please choose Nextcloud from the options and accept it with OK to open the options for this new profile.
Enter a name for the profile, this name has to be unique across different profiles and it is a good idea to use the same name as the synced calendar folder. Choose the folder you just created to synchronize using the ...-button. Activate the field Synchronize items immediately after change to enable the profile after the setup. For a server setup, please insert:
- DAV URL: https://cloud.rz.uni-kiel.de/remote.php/dav/
- Username: Your account name in the CAU-Cloud, e.g. suabc123
- Passwort: Your CAU-Cloud password. If you have enabled 2-factor-authentification, you will have to generate an App-Password
- Email address: You can leave it empty
Click Test or discover settings, to test the connection. If everything went right, a window will open and present you with a list of all your Calendars. Choose the Calendar you want to synchronize from the list. and accept it with OK. You will get a confirmation of a successful test and the DAV URL will change to the URL of the selected calendar. Choose OK to complete the setup and start the initial synchronization. After a couple of seconds, you should see your Appointments in the calendar.


